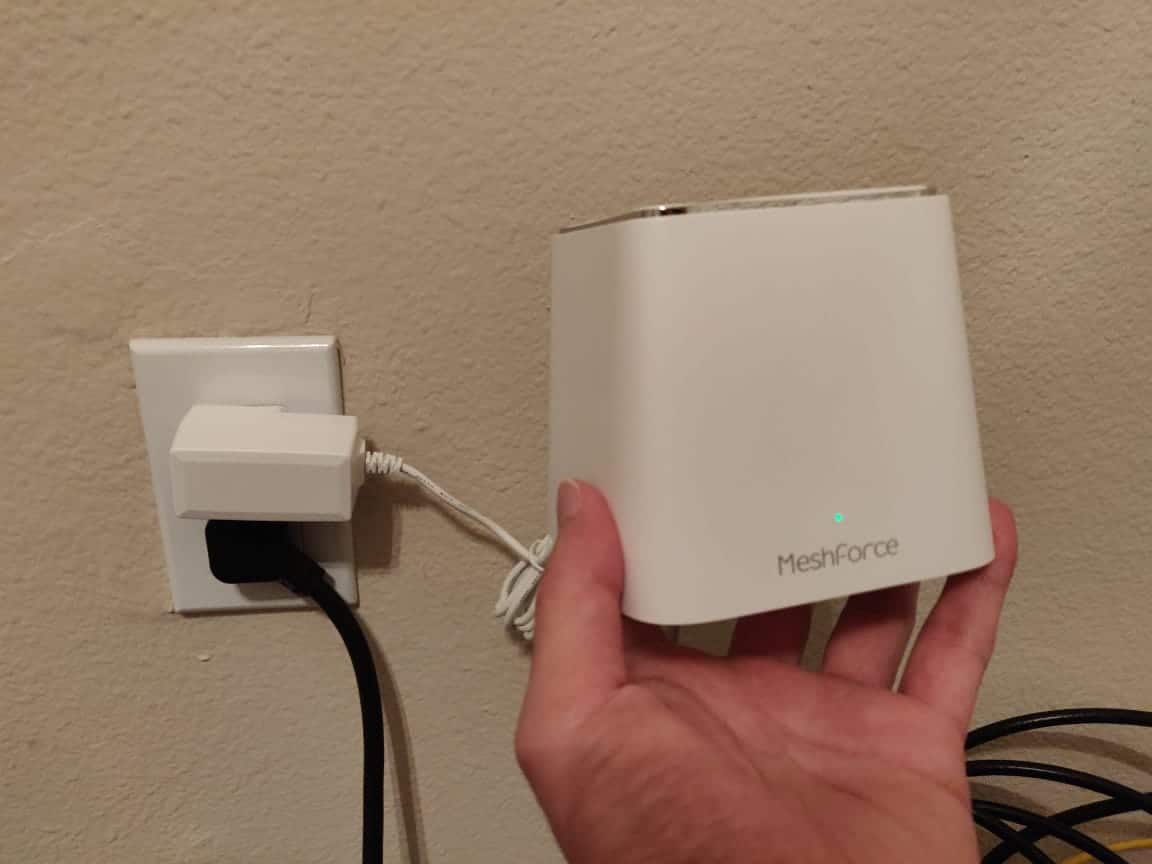
How To Setup The Meshforce M3?

Things you will need for Meshforce setup
● Meshforce wifi system
● A power adapter
● Ethernet cable
● A mobile device with an internet connection
● My Mesh App
Easy steps to set up the MeshForce M3 wifi
system
● Before you start to set up your mesh system,
you need to download the My Mesh app on your mobile device.
● Go to the Play Store or App Store and search
for MeshForce or My Mesh.
● Tap on the Download.
● The next step is to set up your main mesh
point.
● Connect the Ethernet cable from the modem’s
LAN Ethernet port to the Internet port on the main point.
● Then plug the unit into the power outlet with
the help of the power adapter.
● Now, connect your mobile device to the main
mesh point’s default WiFi name.
● Go to the mobile’s settings and tap on the
Wi-Fi.
● Choose the Mesh point’s SSID name from the
available list of the networks and enter the wireless password.
● The default SSID name and password for your
Mesh point are printed on the device label.
● When you’ve successfully joined the network,
launch the My Mesh app.
● A welcome screen will appear, tap on the
Setup.
● The app will automatically detect your
connection type. If the app failed to detect, select your Internet connection
type manually.
● Next, you would be prompted to customize a
personal WiFi name and password.
● Create a new network name and enter a strong,
unique WiFi password. Click OK to save the settings.
● Then add the mesh WiFi dots to the current
MeshForce network to meet WiFi requirements.
● Each mesh dot is capable of holding about one
or two rooms’ wifi coverage.
● You can buy additional dots and add them to
the meshforce network as per your need.
● Plug in the M3 dot to an electrical outlet.
● Launch the My Mesh app, go to the Settings,
and then tap on Add a mesh dot.
● Use your phone’s camera to scan the QR code on
the device label and wait for the Meshforce setup to complete.
Steps for the MeshForce login
● Once the setup is complete, sign in to the
mesh account so you can keep your network in control.
● Tap on the Profile icon, click on Login, and
register a new account.
● Enter your email id to generate an account or
sign in with your Google account.
● The last step is to connect your devices to
the new meshforce network.
Conclusion
So, these were some tips
to set up your MeshForce M3 system. If you need further assistance with the
MeshForce login & setup, contact our technical support team on the helpline
number.

Comments
Post a Comment